Fidelity levels in prototyping – there are more than 3!
22. Juli 2022 2023-09-28 11:14Fidelity levels in prototyping – there are more than 3!
Fidelity levels in prototyping – there are more than 3!
Fidelity is „the degree of exactness with which something is copied or reproduced“ (Oxford Languages).
Fidelity levels
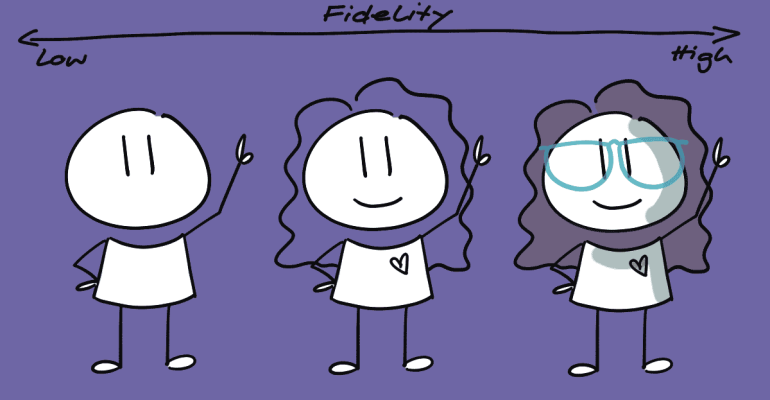
The fidelity levels in prototyping indicate how similar the prototype is to the actual idea or final product. A low-fidelity prototype is very far from the anticipated final version or, in other words, not very similar to it. On the other hand, a high-fidelity prototype closely resembles the final state.
When browsing the internet on prototype fidelity, you will find many resources that state a prototype can be characterised into three different fidelity levels: low-, mid- and high-fidelity. In my opinion, this couldn’t be farther from the truth and can, in the worst case, mislead prospective or junior product people.
First, fidelity is a spectrum and cannot be broken down into just three states. Secondly, fidelity takes place in several dimensions and must be considered in all of them.
Fidelity dimensions
The fidelity of a prototype must be regarded in at least five dimensions: appearance, interactivity, content, breadth, and depth. Let’s look at each in detail in combination with the level of fidelity.
Appearance (visual fidelity)
This dimension is the first thing that comes to mind when discussing the fidelity of prototypes. It determines how close, in visual terms, the prototype is to the intended final state. A Wireframe has a very low visual fidelity, whereas a mockup has a very high one (btw, that’s why it’s called mockup – it mocks the real thing).
Interactivity
The interactivity dimension tells us how much one can interact with the prototype and how closely the interaction resembles the final experience. For instance, the interaction fidelity of a simple wireframe is very low (some would say nonexistent). That one of a paper prototype – even if it is made out of wireframe elements – is much higher but still lower than that of a click dummy made with a specific prototyping tool.
Content
This dimension describes how authentic the content is. For images, for instance, there might be a range from a very simple placeholder (a crossed rectangle) to a more advanced placeholder, to a stock photo, to a real photo. For text, it might be bars or lines representing the text, placeholder text like „lorem impsum“, or actual, final text.
Breadth
Now, we get closer to the tricky concepts. The breadth dimension defines how much of the final product or idea the prototype represents. Does it show only a part or the whole thing (or something in between)? For instance, if your prototype only shows the search result page of an e-commerce store, the fidelity of the breadth is relatively low – you could also say narrow.
Depth
Within the range given by the breadth: how freely can one navigate around, or how restricted are they? Let’s take the e-commerce store again, assuming another prototype tries to depict the whole search experience. How authentic is this experience? Can the test participants enter whatever search phrase they want (fidelity is very deep)? Or can they only use a dummy term given by the test facilitator (fidelity is very shallow)?
These dimensions and levels do not only apply to paper prototypes or click dummies; they can be used to classify any type of prototype.
Area of tension #1: the effect of fidelity levels
There are at least two areas of tension regarding prototyping. First, we have the effects resulting from the choice of the individual fidelity levels. Lower fidelity levels might not give the recipient enough context to fully understand what it is about and what is expected of them.
High-fidelity prototypes, on the other hand, often appear finished, which can lead to misunderstandings. For example, stakeholders might assume that not much more needs to be done before a product or feature goes live.
Area of tension #2: time and effort vs. value
Another tension arises from time and effort on the one side vs. value on the other. The most energy and time invested doesn’t necessarily lead to the highest value.
Therefore, it is essential to adjust the fidelity to the desired result. What do we want to achieve with the prototype, what value do we want to create, and what degree of fidelity do we need for this? The higher the fidelity, the higher the time and effort required.
If you only want to communicate the rough structure of a website, for instance, you don’t need high visual and interaction fidelity.
Conclusion
Before starting your prototype, you should think about what goal you want to achieve with it. Based on this consideration, you choose the necessary fidelity for the five dimensions. At the same time, you should always keep an eye on the effort involved.
If in doubt, it is always better to start with a lower fidelity and increase it if necessary.